My Friend the Tree
There is hardly a scene rye in model making in which they would not fit: trees! However, it is often not
because especially on a large scale from 1:35, the accessories market, either offers nothing suitable or puts the prices for a realistic-looking tree into the unattainable! This workshop is intended to show with what simple and inexpensive possibilities, entire forests can be created on our dioramas base plates.
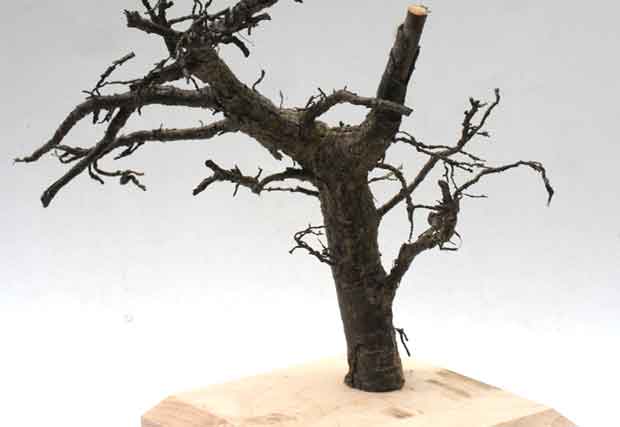
Most of the materials come from nature. Walking in the nearby forest, I found some fallen trees. On closer inspection, I discovered some filigree roots that are ideal for using
of model trees. After a few comparisons, I prefer the roots of overturned spruce and pine trees. After I have cleaned the roots of all soil and loose bark, protruding and too long branches are cut with scissors.
Step 1: The root was straightened on the trunk and glued to a solid surface. It is recommended to fasten the root so that it is easily accessible from all sides.
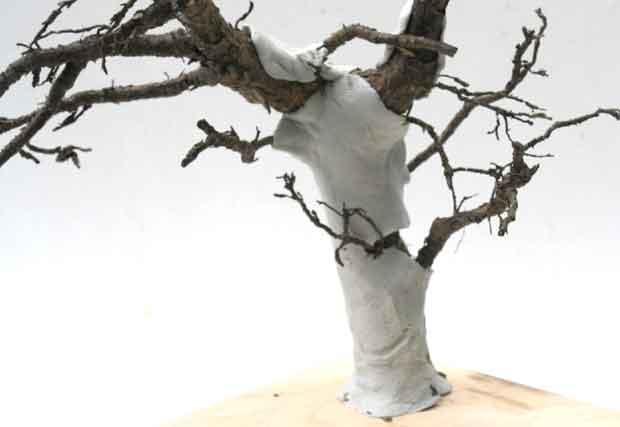
Step 2: A 2-component kneading compound served as the starting material for the bark. The mass was
commercially available kitchen roll. In order to prevent gluing, the base surface (a glass or smooth
plastic plate) and the roll with talcum powder, which can be produced in each pharmacy. From the
rolled clay was now cut out matching pieces with the cutter and around like a second skin
the trunk and the larger branches.
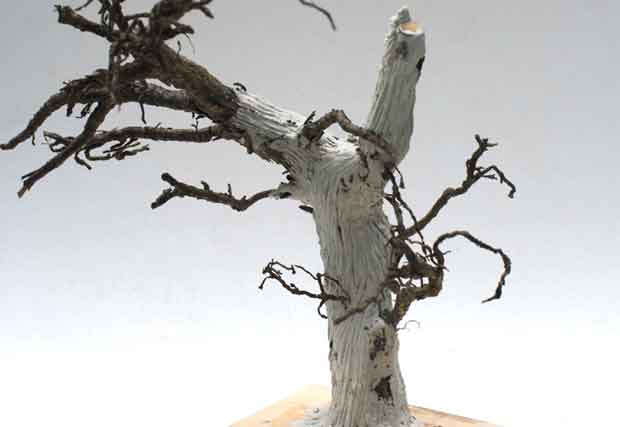
Step 3: With a brush and clear water, the surface is smoothed and shaped. Fine
Modeling tool is ideal for engraving the rough tree bark. In the same way, old
Brushes, toothpicks and shashlick skewers. Finally, I formed from the remnants of the clay
some “sausages” from which the roots were modelled and also provided with a guts structure.
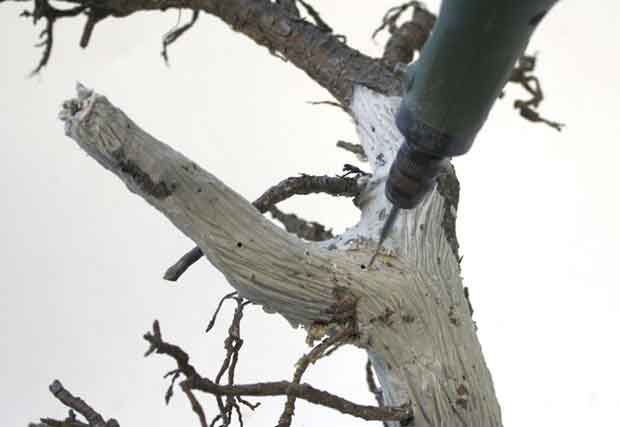
Step 4: After a drying phase of at least 24 hours, the mass is hardened and now the holes can be
drilled for the branches used.
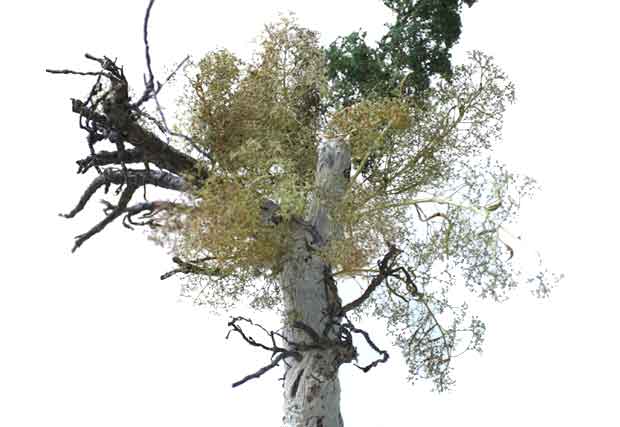
Step 5: To represent a detailed and fine branching, I used “sea foam branches” that make it in the
architectural and railway accessories in different sized packing units. A standard pack is sufficient for
about 3-4 large trees. The individual branches were carefully glued into the pre-drilled holes with some white glue.
After the glue has dried, the tree is prepared for painting and greening.
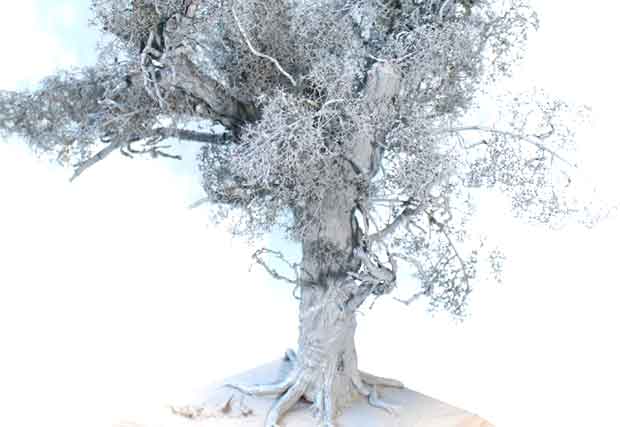
Step 6. The entire construction has now been painted with commercially available adhesive primer by spray can. This helps in
primarily to stabilize the slightly fragile small branches and to ensure a uniform surface structure.
Create. In addition, one can already recognize the later appearance of our tree and one could
make any corrections.
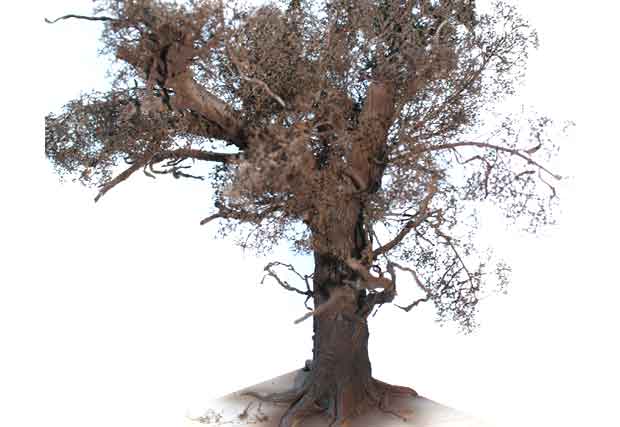
Step 7: With the airbrush gun, the tree got its first paint application in a dark black-brown. Who
airbrush system, this can of course also be carried out with the help of spray cans. It is important to
however, that all branches and branches are given a rich paint application, so that you do not have unsightly spots later on.
can be found on the tree. The first brightenings can already be sprayed in this construction phase. I used a
slightly lighter tone than the brown base color.
Step 8: Now the branches should get its foliage. There are several ways to create realistic greening
Create. Whether you use the model railway accessories (flockage) or strive for natural materials
is up to everyone. If you love it extravagantly, you can also use laser-cut leaves – although it’s
is, of course, the most cost-intensive. A free option, but a bit tedious, is the
Collect birch syringes that need to be cleaned and dried.
I have discovered oregano as a favorite. This can be seen in every supermarket finely rattled for
a few cents. The entire treetop was fogbed with spray glue and generously sprinkled with the oregano. This
Process is repeated 4 to 5 times – until a satisfactory “fullness” has been set.
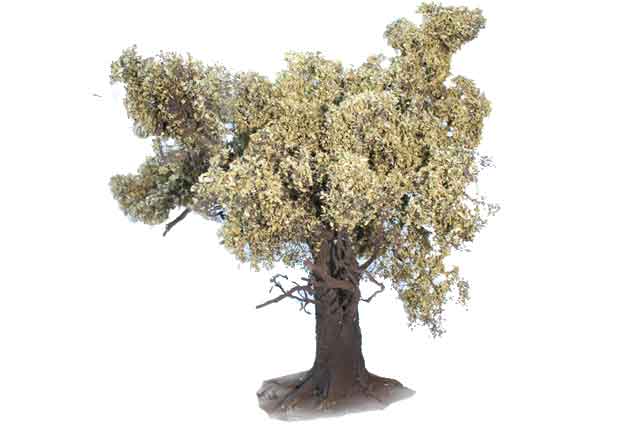
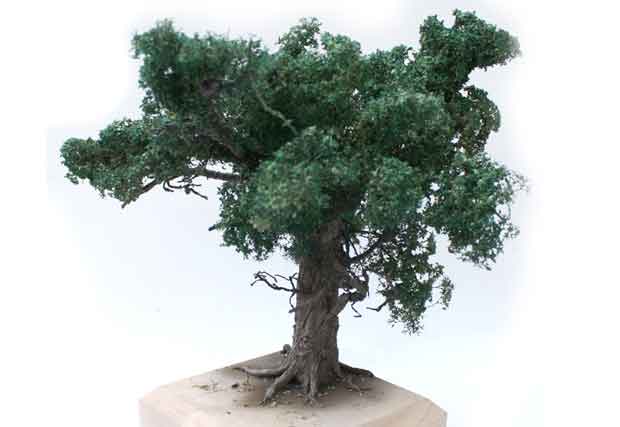
Step 9: The next step is now the painting of the arbor, in advance you should decide in which season you
wants to represent his tree. In every season, of course, the foliage looks different. In this case, it is summer. First, the
the entire crown is sprayed with a dark green. Various yellow-green and olive-green shades give the whole thing the
realism and colour contrast.
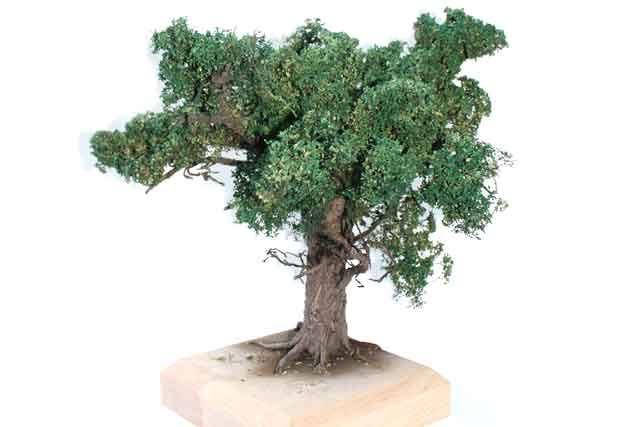
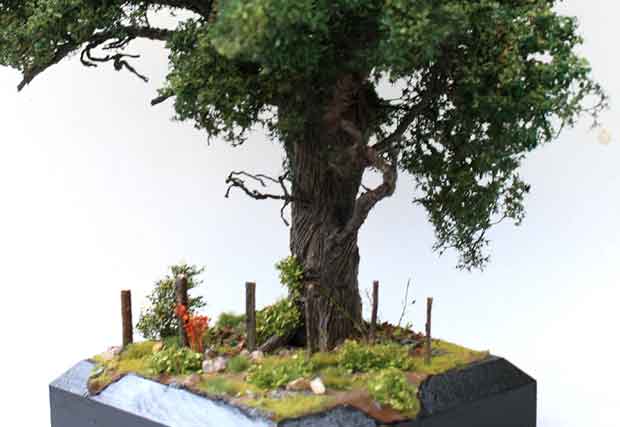
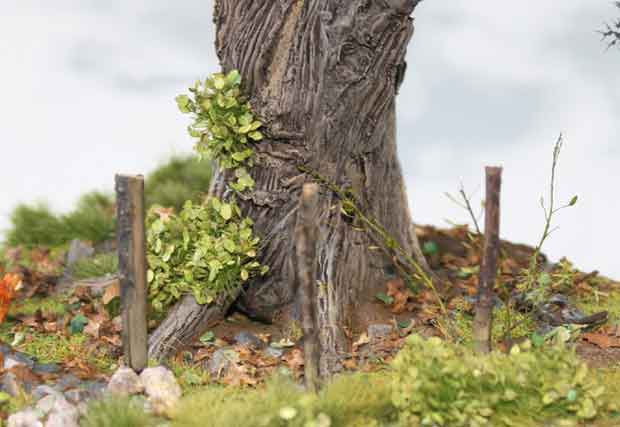
Step 10: Now it’s time to work out the details. Numerous washings and dry painting passages with various
Brown and green tones highlight the bark structure and underline the impression of the tree. In order to ensure that the environment is
of the small showpiece “Life”, I have made of a mixture with earth, sand, small stones and
White glue toae a porridge and applied on the dioramas base plate. After everything had dried through, sprinkled
I have some places with grass flakes, pebbles and dried flowers, which are still adapted to the overall scene a little
Were. Finally, I attached a chain with an old rubber tire to a dry branch of the tree and found
in the fundus still an old figure of a little boy from the fa. Belgo. Small eye-catchers, such as the barbed wire on the fence, the
from the Verlinden range, underlines the impact of the scene immensely.

